
3D Puff Embroidery Digitizing: How It Works, Cost & Ordering Guide
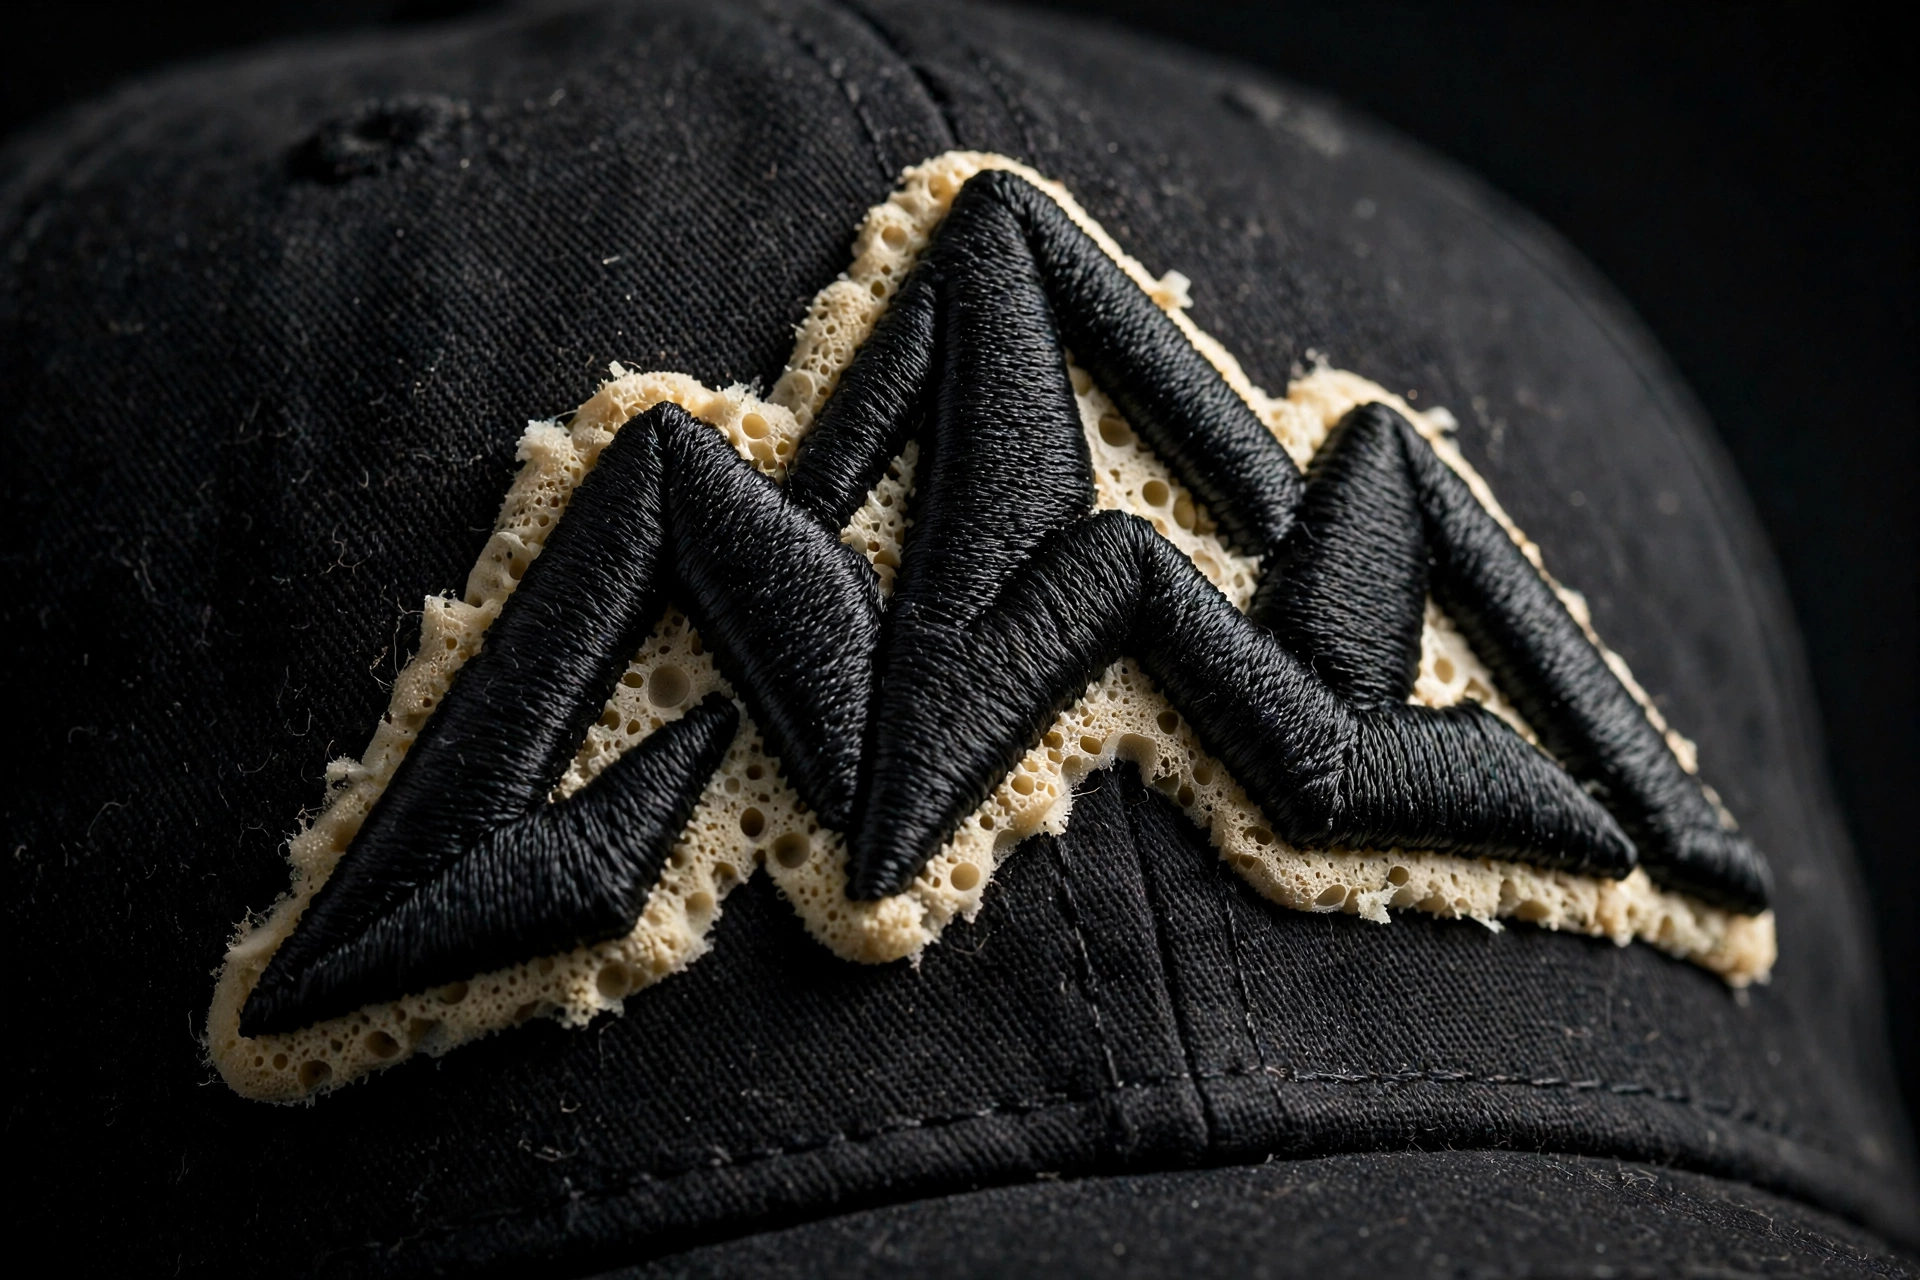
That raised, bold lettering you see on premium caps and jackets is 3D puff embroidery — and it can’t be digitized like flat embroidery. 3D puff embroidery digitizing is a specialized process where the design is built around foam that sits under the stitches, lifting them off the fabric. Get the digitizing wrong and the foam shows through, edges fray, or the design collapses. Here’s how it works and how to order it right.
How 3D Puff Digitizing Works
In 3D puff, a sheet of embroidery foam is placed on the fabric, and dense satin stitches are sewn over it. The foam is then torn away, leaving the stitches standing raised. The digitizer’s job is very different from flat work:
- Wide, dense satin columns replace normal fills — the stitches must completely cover the foam with no gaps.
- Higher density and special underlay keep the foam locked down so it doesn’t poke through.
- Sharp corners and clean stops matter more, because every imperfection is magnified by the raised height.
- Foam color matching — the digitizer plans the sequence so any tiny foam edge that shows blends in.
Because of this, a flat embroidery file can never just be “converted” to puff — it must be re-digitized from scratch for foam. Learn the basics of the standard process in our complete digitizing guide.
What Makes Artwork Puff-Ready
Not every design works in 3D puff. Before you order, check your artwork against these rules:
- Bold, simple shapes win. Thick letters, bold logos, and wide borders puff beautifully. Fine lines and tiny details don’t — foam can’t hold them.
- Minimum sizes apply. Satin columns need real width (roughly 3mm+) to cover foam; anything narrower should stay flat.
- Skip small text. Text under about 8–10mm tall in puff usually looks messy. Keep small text flat and puff only the bold elements.
- Limit color count. Each puff color needs its own foam piece and trimming — 1–3 colors is the sweet spot.
If your artwork needs cleaning up first, clean vector art makes the digitizer’s job far easier.
3D Puff vs Flat Embroidery: When to Choose Which
Use 3D puff when you want maximum impact — cap fronts, jacket chest logos, and bold brand marks. It costs more and suits simpler designs. Use flat embroidery for detailed artwork, small text, large filled areas, and anything photorealistic. Many premium designs combine both: puff for the bold letters, flat stitching for the fine details around them — a combination your digitizer should plan as one file.
What Affects 3D Puff Digitizing Cost
- Design complexity: bold single-color text is cheapest; multi-color puff with mixed flat details costs more.
- Size: larger puff areas need more foam coverage planning and denser stitching.
- Artwork quality: blurry or hand-drawn art that needs redrawing adds to the price.
- Turnaround: standard delivery is usually 4–12 hours; true rush (1–4 hours) may carry a fee. See digitizing turnaround times explained.
For general pricing context, see our 2026 embroidery digitizing price guide.
How to Order 3D Puff Digitizing (What to Send)
To get a puff file that stitches cleanly the first time, send your digitizer:
- The highest-resolution artwork you have (vector preferred).
- Exact finished size and placement — caps need special sizing, so name the garment.
- Which elements should be puff vs flat.
- Your machine format (DST, PES, EXP — see file formats explained).
- Foam thickness if you have a preference (3mm is standard).
Order Professional 3D Puff Digitizing
Don’t risk foam showing through on a 500-cap order. Order 3D puff digitizing with us — 100% manual, puff-specific density and underlay, machine-ready files delivered in 4–12 hours with free revisions.
FAQs
Can any design be made into 3D puff embroidery?
No. 3D puff needs bold shapes and wide satin columns (about 3mm+). Fine details, tiny text, and gradients should stay flat — a good digitizer will tell you which parts of your design are puff-safe.
Why does foam show through my 3D puff embroidery?
Almost always a digitizing issue: density too low, wrong underlay, or satin columns too narrow to cover the foam. Properly digitized puff fully hides the foam.
How much does 3D puff digitizing cost?
It typically costs more than flat digitizing because of the specialized technique — expect the upper end of standard pricing. Complex multi-color puff costs more than a simple one-color cap front.
What foam is used for 3D puff embroidery?
Special embroidery foam, usually 2–3mm thick, in a color matched to the thread. Your digitizer plans the file around the foam; you just need to have the right foam on hand when sewing.