
Types of Embroidery Stitches: Satin, Fill & Run Explained
Every embroidery design is built from just a few basic types of embroidery stitches. Whether a design looks crisp or messy usually comes down to one decision: using the right stitch in the right place. Here’s how professionals choose.
Satin Stitch: For Borders, Text & Shine
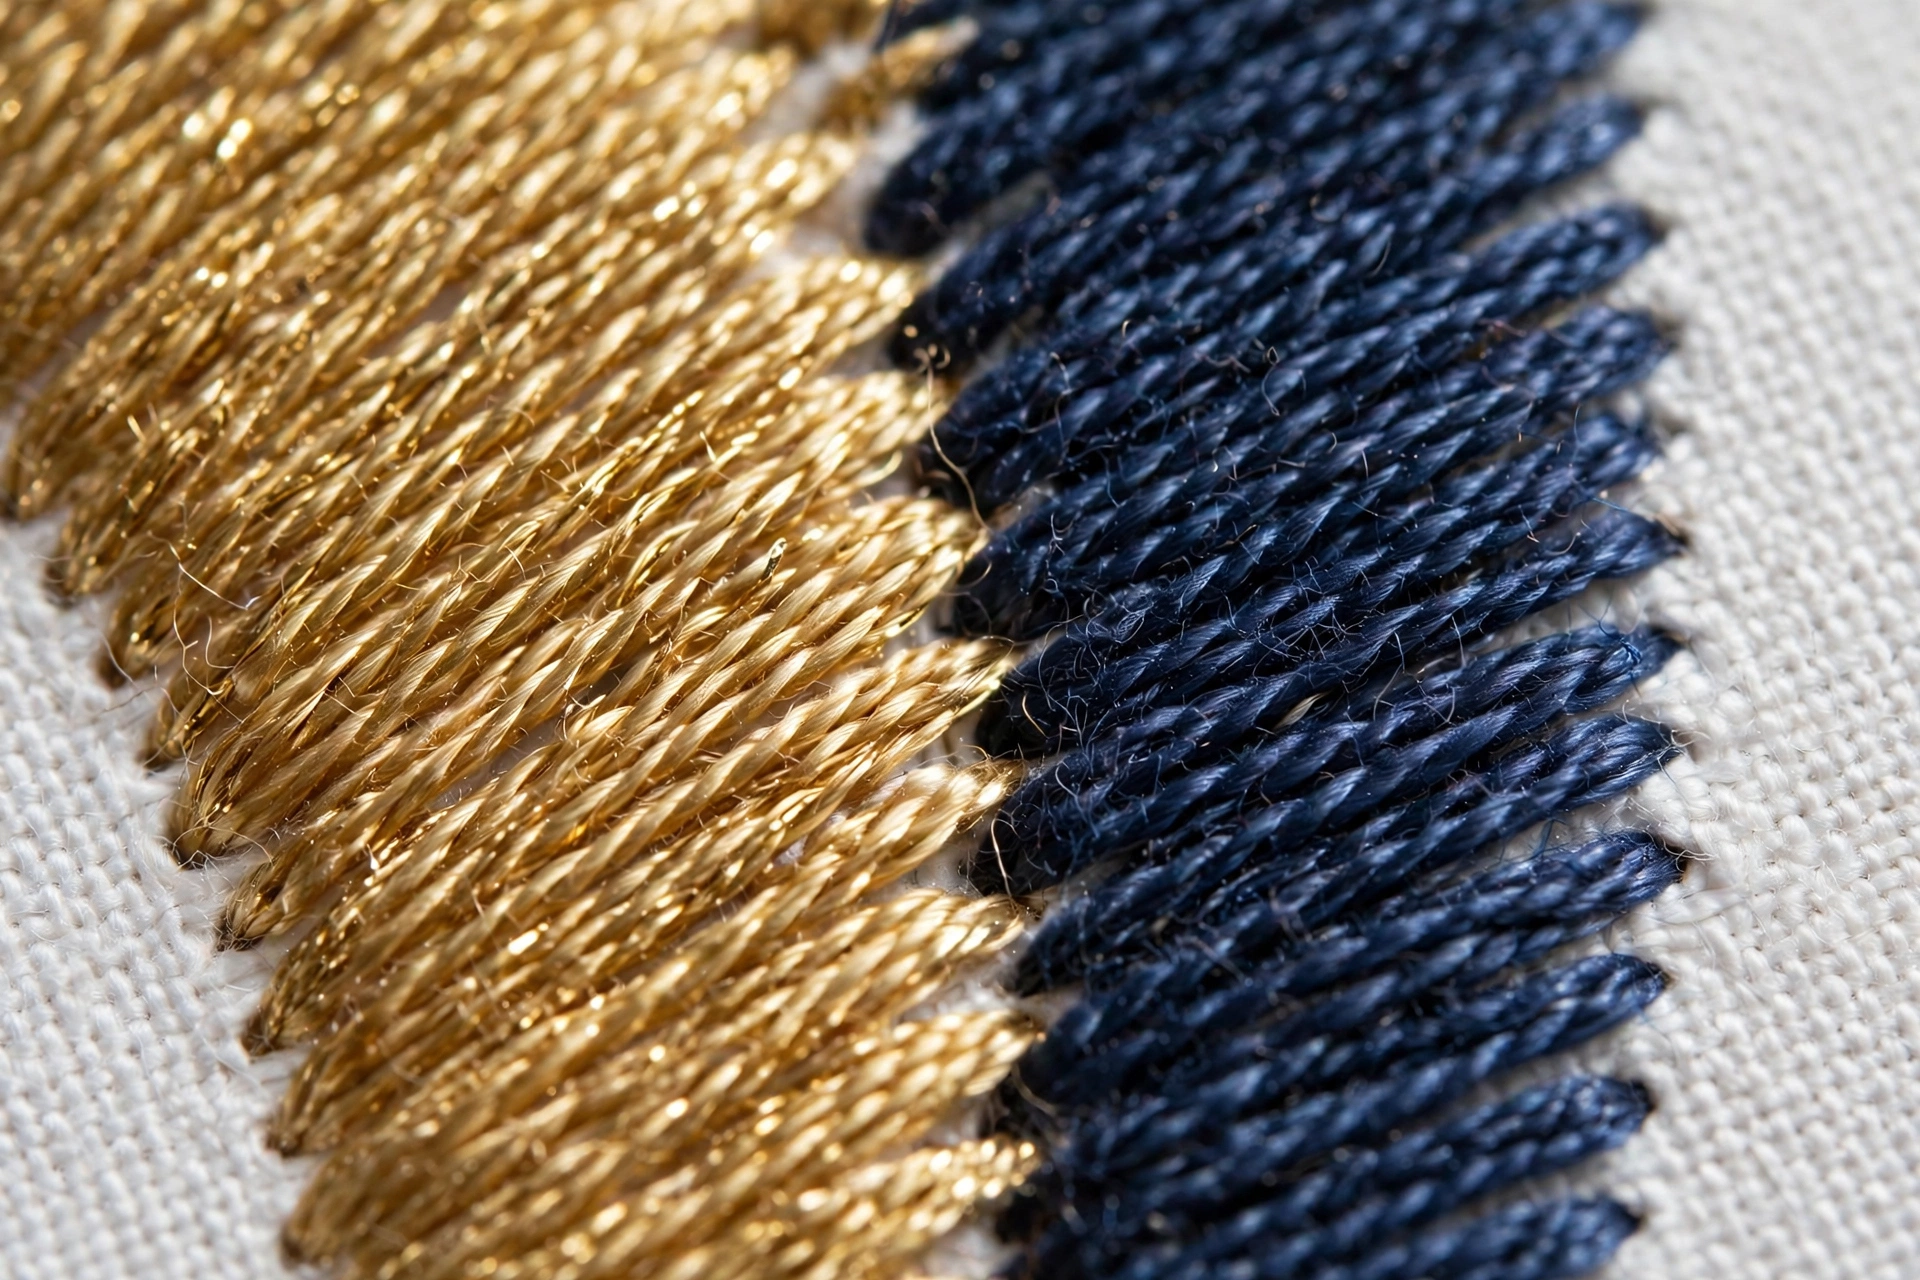
Satin stitches are long, smooth zigzag stitches laid side by side. They create a glossy, raised look that catches the light.
Best for: lettering, borders, narrow columns (1–7 mm wide), and small emblem details.
Watch out: satin columns wider than about 7 mm can snag. For wider areas, split the satin or switch to fill.
Fill (Tatami) Stitch: For Large Solid Areas
Fill — also called tatami — covers big areas with rows of stitches laid in a woven pattern. It’s the workhorse behind jacket backs, large logos, and solid shapes.
Best for: areas wider than 7 mm, backgrounds, and textured effects.
Watch out: fill needs proper underlay and density for the fabric, or you’ll see gaps or heavy puckering.
Run Stitch: For Outlines & Fine Detail
The run stitch is a simple straight line of stitches — the most basic of all embroidery stitch types.
Best for: fine outlines, sketch-style details, small text underlines, and travel stitches between areas.
Watch out: a single run is thin; use double or triple runs where the line must stand out.
How Digitizers Choose Between Them
When you digitize a logo for embroidery, the rule of thumb is simple: narrow shapes get satin, wide shapes get fill, thin lines get run. Professionals also adjust density (stitch spacing), underlay (foundation stitches), and pull compensation for each stitch type and fabric.
Quick Reference Table
- Text & borders (1–7 mm): satin stitch
- Large solid areas: fill/tatami stitch
- Fine outlines: run stitch
- Fabric stabilization: underlay (used under all three)
Why Stitch Choice Matters for Quality
Wrong stitch choice is behind most ugly embroidery: satin stretched too wide snags, fill at the wrong density puckers, and missing underlay lets designs sink into fleece. That’s why manual digitizing by an expert beats auto-digitized files — a human chooses the right stitch for every shape.
Get It Digitized Right the First Time
Don’t gamble with stitch settings. Our digitizing service assigns the perfect stitch types, density, and underlay for your fabric — delivered in 4–12 hours.
FAQs
What is the strongest embroidery stitch?
Fill (tatami) stitches cover the most area and hold up well on workwear. For outlines, triple run stitches are the most durable.
Which stitch is best for small text?
Satin stitch for text down to about 5 mm tall. Below that, use a clean run stitch or simplify the lettering.
What is underlay in embroidery?
Underlay is a layer of foundation stitches sewn before the visible stitches. It stabilizes the fabric and prevents designs from sinking or distorting.
Can software choose stitch types automatically?
Auto-digitizing picks basic stitch types but can’t judge shapes, fabric, or quality the way a human digitizer can — manual digitizing gives far better results.