
Embroidery on Shoes & Sneakers: Complete Guide
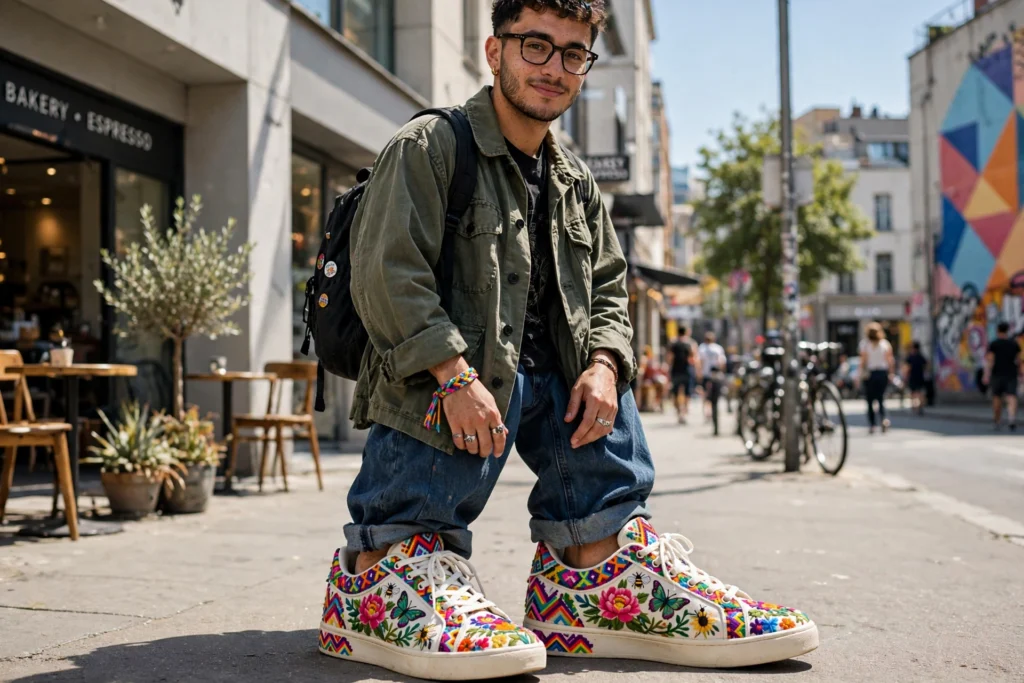
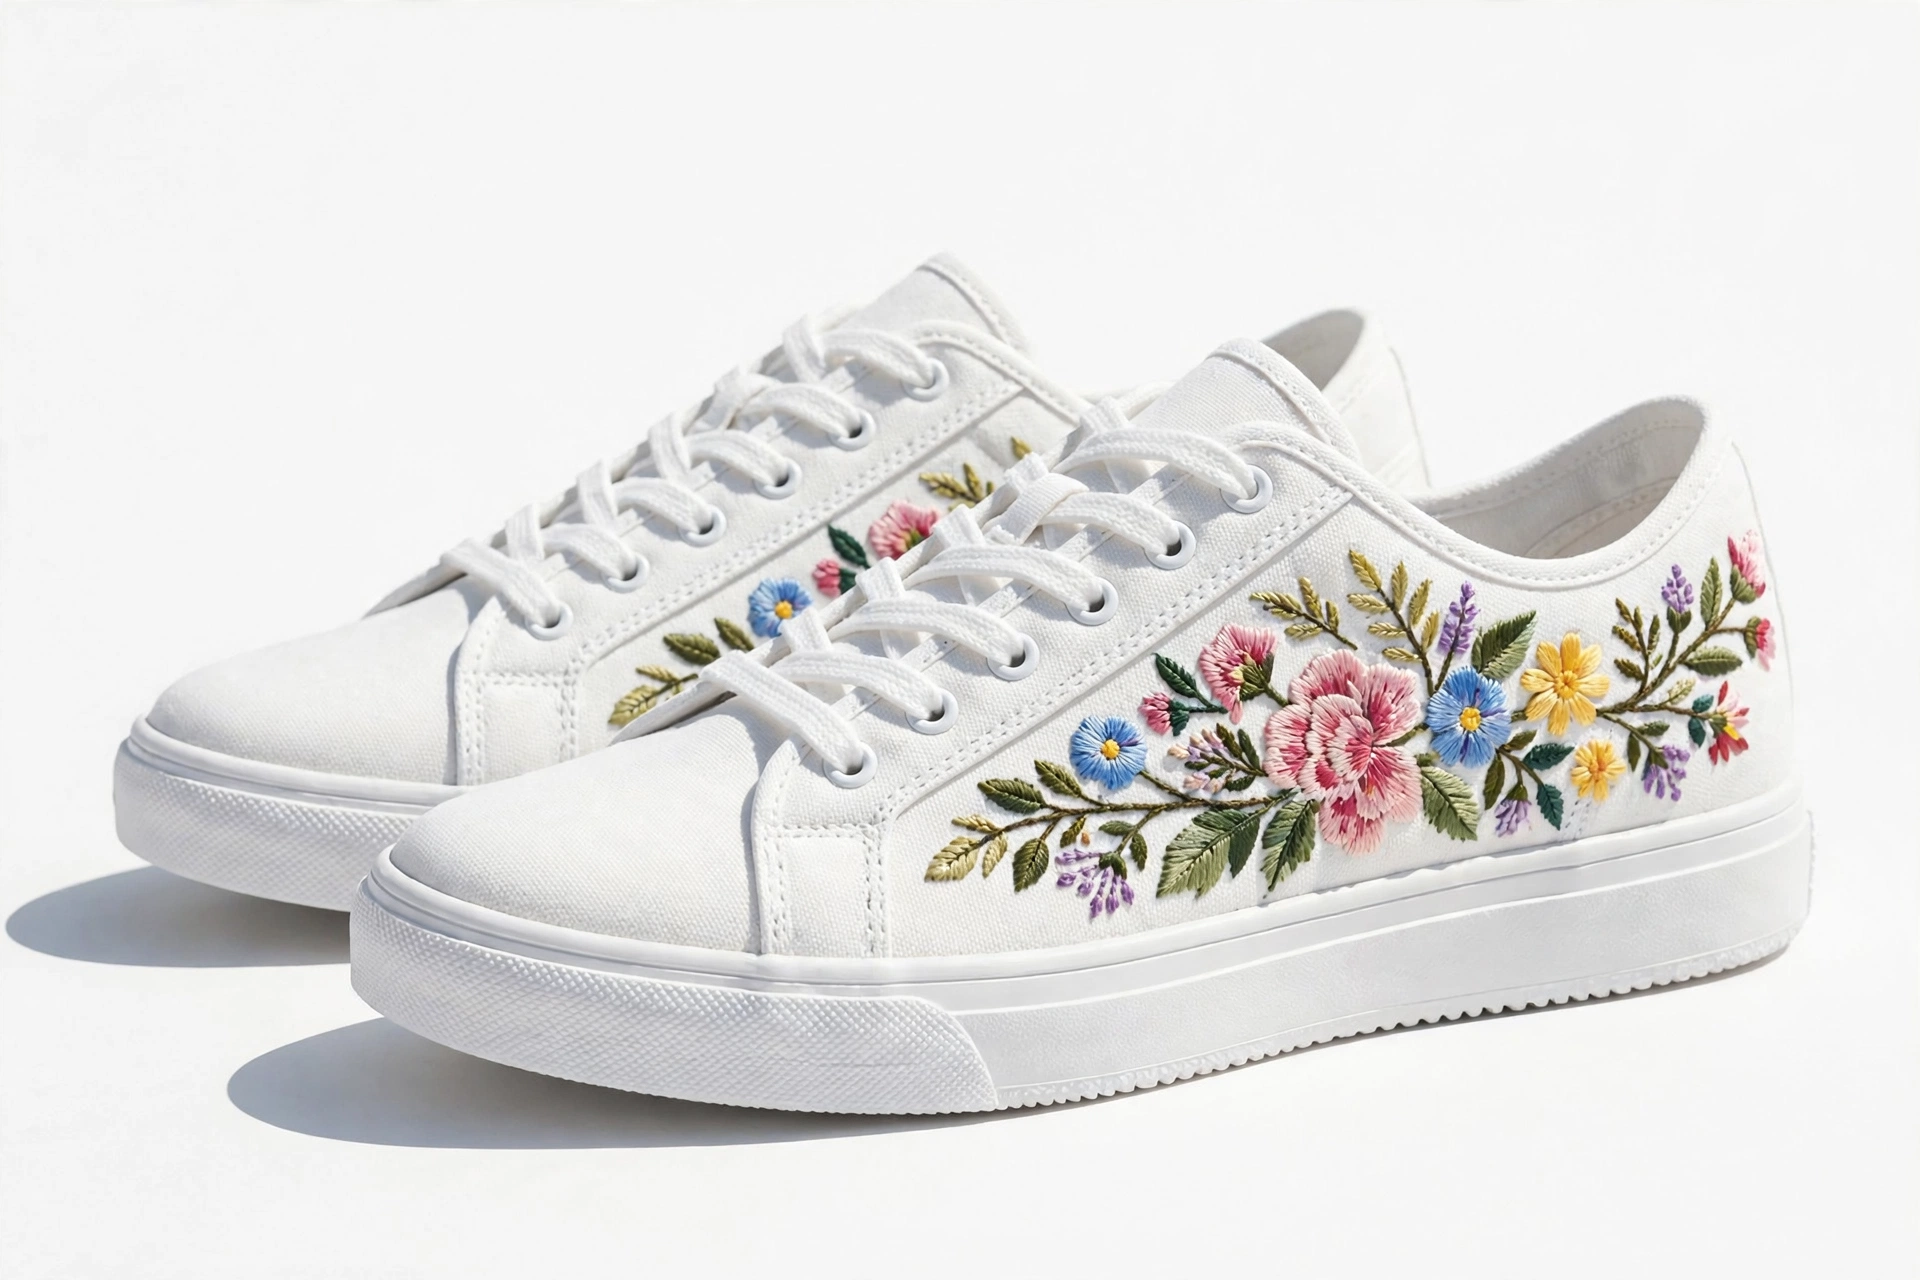
Embroidered sneakers are everywhere — custom side-panel designs, monogrammed heels, embroidered logos on canvas shoes. It looks effortless in photos. In reality, shoe embroidery is one of the most demanding jobs in the craft: thick layered materials, a tiny curved sewing area, and a shoe that does not want to sit flat anywhere near a needle.
This guide explains honestly why shoes are hard to embroider, which placements actually work, how digitizing is adjusted for thick materials, the difference between hand and machine methods, and what it costs.
Why Shoe Embroidery Is So Difficult
- Thickness. A sneaker’s side panel is not one layer of fabric — it is leather or synthetic, foam padding, and lining bonded together. Needles deflect, threads break, and standard digitizing densities can perforate the material.
- Small, curved area. The usable panel on most shoes is only a few inches, and it curves around the foot. Designs must be small and shaped to the panel.
- Access. You cannot hoop a shoe like a shirt. The rest of the shoe is always in the way, and only certain machine setups (free-arm, or special clamps) can reach some areas at all.
- No test sew on the real thing. Every hole in leather or synthetic is permanent. A mistake is not a ruined blank — it is a ruined pair of shoes, often an expensive one.
Because of this, many “embroidered shoe” products are actually embroidered before assembly (at the factory), or embroidered on a patch that is then applied. For finished shoes, small and simple is the rule.
Best Placements for Shoe Embroidery
- Side panel (outer side): the most popular spot — the flattest, most visible area. Small logos, initials, and simple motifs, usually 1″ to 2″ in size.
- Heel counter: a small monogram or tiny design centered on the back. Very limited height — keep designs short.
- Tongue: works on shoes with a fabric tongue that can be accessed and flattened; common for small logos on sneakers and boots.
- Canvas shoes (like classic low-tops): the easiest finished shoes to embroider, because the canvas is thinner and more flexible than leather or padded synthetics. Side panels and toe-adjacent areas are popular.
What to avoid: areas over seams, eyelets, and stitching lines; the toe box (too curved and structured); and any placement the machine physically cannot reach with the shoe in the way.
Design Size Limits
Shoe embroidery is small embroidery. Most finished-shoe designs fall between 0.75″ and 2″ — initials, a small icon, a tiny floral, a mini logo. At that scale:
- Fine detail disappears. Thin lines under about 1mm and text under roughly 0.2″ tall will not read on textured shoe material.
- Bold, simple artwork is non-negotiable: thick shapes, minimal colors, no gradients.
- The design often needs redrawing, not just shrinking. A digitizer simplifies the artwork so it survives at small size on a rough surface — the same discipline used for caps and small logos generally.
Digitizing Adjustments for Shoes
A shoe file is digitized differently from a garment file:
- Reduced density. Thick material plus dense stitching equals perforated, weakened panels. Density is lowered and stitch lengths adjusted so the design sits on the material instead of cutting through it.
- Strong underlay decisions. Underlay anchors the design on slippery synthetics and leather — but too much underlay adds bulk. It is a balance the digitizer sets for the specific material.
- Simplified pathing. Fewer jumps and trims, because repositioning a shoe mid-design is the hardest part of the job; the file should sew in a clean, logical sequence.
- Material-specific versions. Canvas, leather, and knit sneakers (like sock-style runners) each behave differently. Be honest about the shoe material when ordering — a file built for canvas will not suit leather.
Hand Embroidery vs Machine Embroidery on Shoes
Honesty matters here, because the two methods suit different jobs:
- Hand embroidery is how most one-off custom shoe art is actually done — artists stitch directly through canvas shoes with a needle, which allows working around curves and hardware a machine cannot reach. It is slow and priced as art, but for a single pair of canvas sneakers with a detailed design, it is often the practical route.
- Machine embroidery works for repeatable small designs — logos, initials, simple motifs — especially on canvas shoes and accessible panels, using clamps or specialty setups. It is faster per pair once set up, which suits small batches of the same design.
Neither is “better” universally. Detailed one-off art leans hand; simple repeated branding leans machine.
What Does Shoe Embroidery Digitizing Cost?
Digitizing for shoes is priced like other small specialty designs: simple motifs and initials start from $10, and price rises with complexity and any artwork simplification needed. The digitizing is a one-time cost per design; the sewing itself is where shoe work gets expensive, because setup and care per pair is high. For the full picture of how digitizing pricing works, see our embroidery digitizing cost guide. And since design size discipline on shoes follows the same logic as hoop-limited work, our embroidery hoop sizes chart is worth a read before you plan a design.
Turnaround for digitizing is 4 to 12 hours, with free revisions on every order.
Frequently Asked Questions About Shoe Embroidery
Can you embroider on any shoes?
Not all. Canvas shoes are the easiest. Leather and padded synthetic sneakers can take small, simple designs on accessible panels. Shoes with very thick, structured, or hardware-covered panels may not be embroiderable when finished — a patch or pre-assembly embroidery is the fallback.
What size design fits on a shoe?
Usually between 0.75″ and 2″. The outer side panel is the largest usable area on most shoes; heels and tongues take even smaller designs.
Will embroidery damage leather shoes?
It can if done wrong — every needle hole in leather is permanent, and too-dense stitching can perforate the panel. Leather designs need reduced density and careful placement, and there is no undo, so the file and the plan matter.
Is hand or machine embroidery better for shoes?
For detailed one-off art on canvas shoes, hand embroidery is often more practical. For simple, repeated designs like logos and initials, machine embroidery is faster per pair.
How much does shoe embroidery digitizing cost?
Simple designs start from $10 at ndigitizing.com, delivered in 4 to 12 hours with free revisions. Detailed artwork that needs simplifying first costs more depending on the work involved.
Get Your Shoe Design Digitized Right — From $10
Shoe embroidery leaves no room for a bad file: the material is thick, the space is tiny, and mistakes are permanent. Order our embroidery digitizing service from just $10 — tell us the shoe type and material, and we will digitize your design at the right size, density, and pathing for it. Every order is 100% manually digitized, delivered within 4 to 12 hours, with free revisions included.