
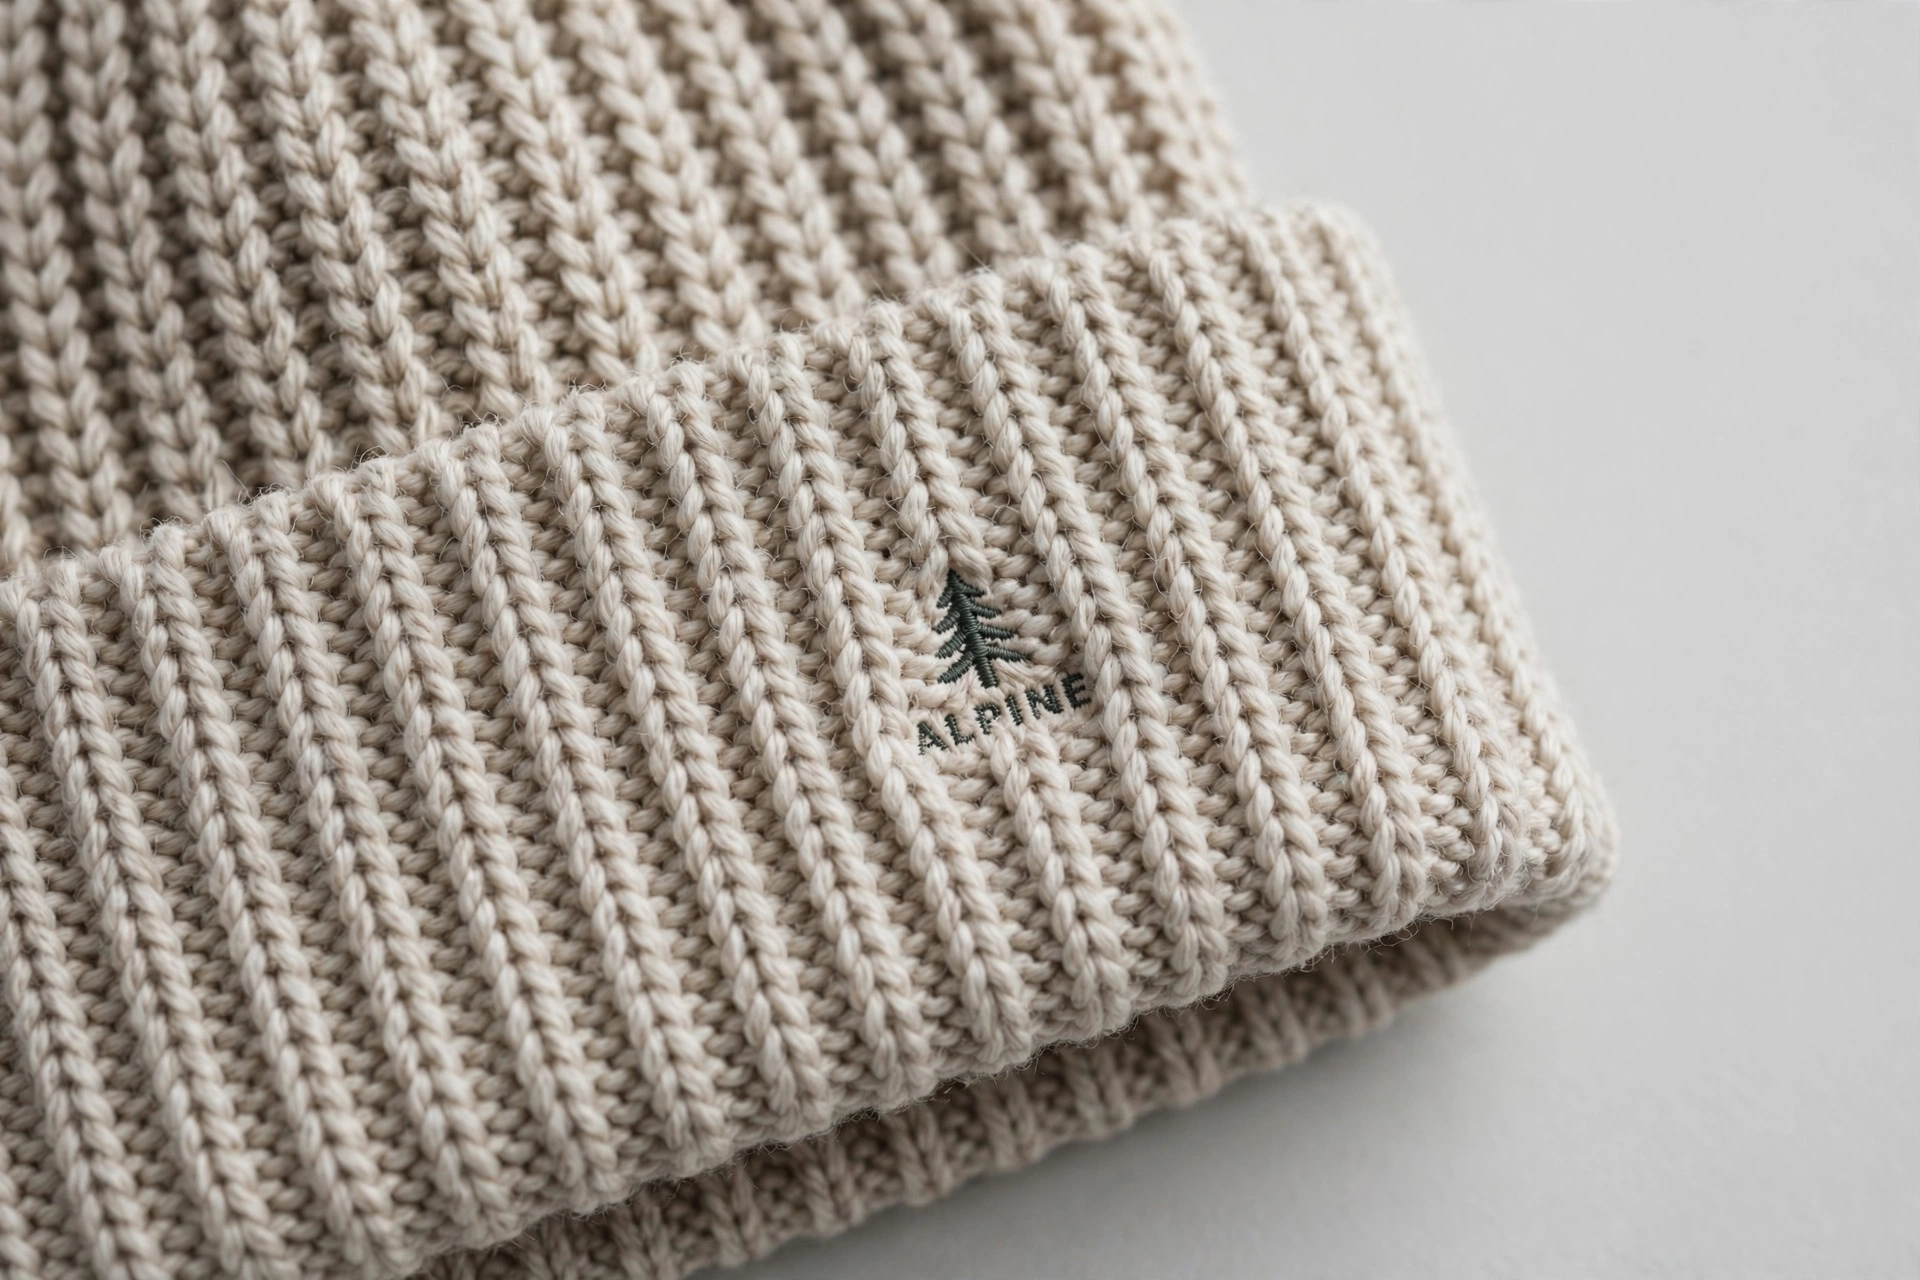
Beanie Embroidery Digitizing: Sizes, Placement & Tips
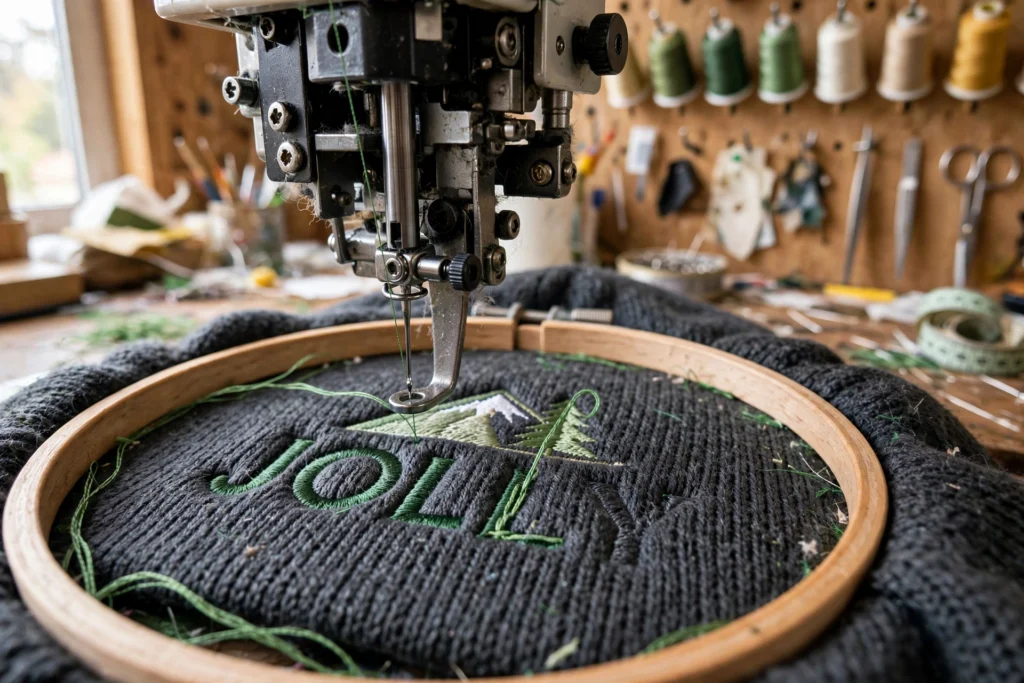
A beanie looks like the simplest embroidery job in the world — one small logo on a soft knit hat. In practice, beanies are one of the trickiest garments to digitize for. The fabric stretches in every direction, the surface is ribbed and uneven, and the sewing area is small and curved. A file that sews perfectly on a flat polo shirt will pucker, distort, and sink on a beanie.
This guide covers why knit beanies are challenging, the design sizes that actually work, cuff versus no-cuff placement, stabilizer basics, and what beanie digitizing costs.
Why Beanies Are Hard to Embroider
Three properties of beanie fabric work against you:
- Stretch. Knit fabric moves. As the needle penetrates and the hoop holds tension, the fabric stretches — then relaxes when unhooped, and your circle becomes an oval. Digitizing has to compensate for this movement with proper underlay and pull compensation.
- Texture. Ribbed knit has raised and recessed rows. Stitches laid across the ribs can sink into the valleys, making edges look broken and thin details disappear.
- Curve and bulk. A beanie is a tube of thick, folded fabric (especially at the cuff). Hooping it flat is awkward, and the sewing field is small.
None of this means beanie embroidery is a bad idea — embroidered beanies are hugely popular for brands, teams, and merch. It means the file must be digitized for knit, not borrowed from a flat-fabric job.
Best Design Sizes for Beanies
The usable front panel of a typical adult beanie is limited, especially on cuffed styles where the fold takes up half the height.
- Design height: about 2″ to 2.25″ maximum. This is the sweet spot. Taller designs wrap over the curve of the head and distort at the top and bottom edges.
- Design width: up to about 4″ for a front-centered design, depending on the artwork. Wider designs start wrapping around the sides.
- Text: keep lettering bold and at least 0.25″ tall. Fine print and thin script disappear into knit texture. If your logo has small tagline text, the beanie version should drop it — the same rules we cover in our small text embroidery size guide apply, with extra margin for stretch.
Simple, bold shapes win on beanies: a chunky icon, a short wordmark in a heavy font, a simple mascot outline. Intricate crests and detailed logos need simplifying before digitizing.
Cuff vs No-Cuff Placement
Placement depends on the beanie style:
- Cuffed beanies (the classic fold-up style): the design goes on the cuff itself, centered front. The cuff is a double layer of fabric, which is actually good news — it is more stable than the single-layer crown and gives cleaner results. Center the design vertically on the cuff band.
- No-cuff / slouchy beanies: the design sits on the front panel, roughly centered between the bottom edge and where the crown starts curving. Leave a small margin from the bottom edge so the design does not roll under when worn.
In both cases, remember the beanie stretches when worn. A design that looks centered on the table can sit slightly different on a head — digitizers account for this, and a test sew on an actual beanie is always worth it before a full run.
How Beanie Digitizing Is Adjusted for Knit
A beanie file is not a resized shirt file. The digitizer adjusts:
- Underlay: a stronger foundation layer that locks the knit down before the design stitches land, reducing stretch and movement.
- Pull compensation: shapes are made slightly wider than final size, because stitches pull inward on stretchy fabric — without it, letters come out thin and gaps appear.
- Density: tuned so coverage is solid over the ribbed texture without making the patch so stiff it feels like cardboard on the forehead.
- Stitch types: satin for bold lettering and borders, fill for solid shapes — with stitch direction planned so the design does not fight the direction of the knit ribs more than necessary.
Beanies pair naturally with our broader guide to embroidery digitizing for hats and caps — the sizing discipline is similar, even though the fabric behaves very differently from a structured cap.
Stabilizer and Sewing Notes
Digitizing is half the job; hooping and stabilizer finish it:
- Cutaway stabilizer is the usual choice for beanies — tearaway tends to let the knit shift and can distort the design after washing. Many shops float the beanie on adhesive stabilizer or use a cap-style frame instead of forcing it into a standard hoop, which can leave hoop marks and stretch the fabric unevenly.
- Topping (water-soluble film) helps stitches sit on top of the knit rather than sinking into the ribs — the same principle used on towels.
- Test sew first. Knit varies a lot between brands. One test on the actual beanie style saves a whole batch.
What Does Beanie Digitizing Cost?
Beanie designs are small, so digitizing usually sits at the affordable end: simple logos, wordmarks, and icons start from $10, with more detailed designs priced by complexity. The file is a one-time cost — once you own it, every beanie in the run is just thread and machine time. Turnaround is the standard 4 to 12 hours, and every order includes free revisions until the file sews correctly on your beanies.
Frequently Asked Questions About Beanie Embroidery
What size should a beanie embroidery design be?
About 2″ to 2.25″ tall and up to roughly 4″ wide for a front design. Taller designs wrap over the curve of the head and distort.
Why did my logo pucker on a beanie?
Knit stretches under the needle and relaxes after unhooping. The file needs knit-specific underlay and pull compensation, plus cutaway stabilizer — a file digitized for flat fabric will almost always pucker on a beanie.
Can any logo be embroidered on a beanie?
Most logos can, after simplifying. Fine lines, tiny text, and gradients do not survive knit texture — a good digitizer will bold up the artwork and drop elements that cannot sew cleanly.
Where does the design go on a cuffed beanie?
Centered on the front of the cuff. The cuff’s double layer is the most stable area of the hat and gives the cleanest sew-out.
How much does beanie digitizing cost?
From $10 for simple designs at ndigitizing.com, delivered in 4 to 12 hours with free revisions included.
Order Beanie Digitizing Built for Knit — From $10
A beanie design that stays crisp on stretchy knit — no puckering, no sinking, no wobbly letters — starts with a file digitized specifically for the fabric. Order our embroidery digitizing service from just $10. Every order is 100% manually digitized, delivered in your machine’s format within 4 to 12 hours, with free revisions until it sews perfectly.