January 13, 2026
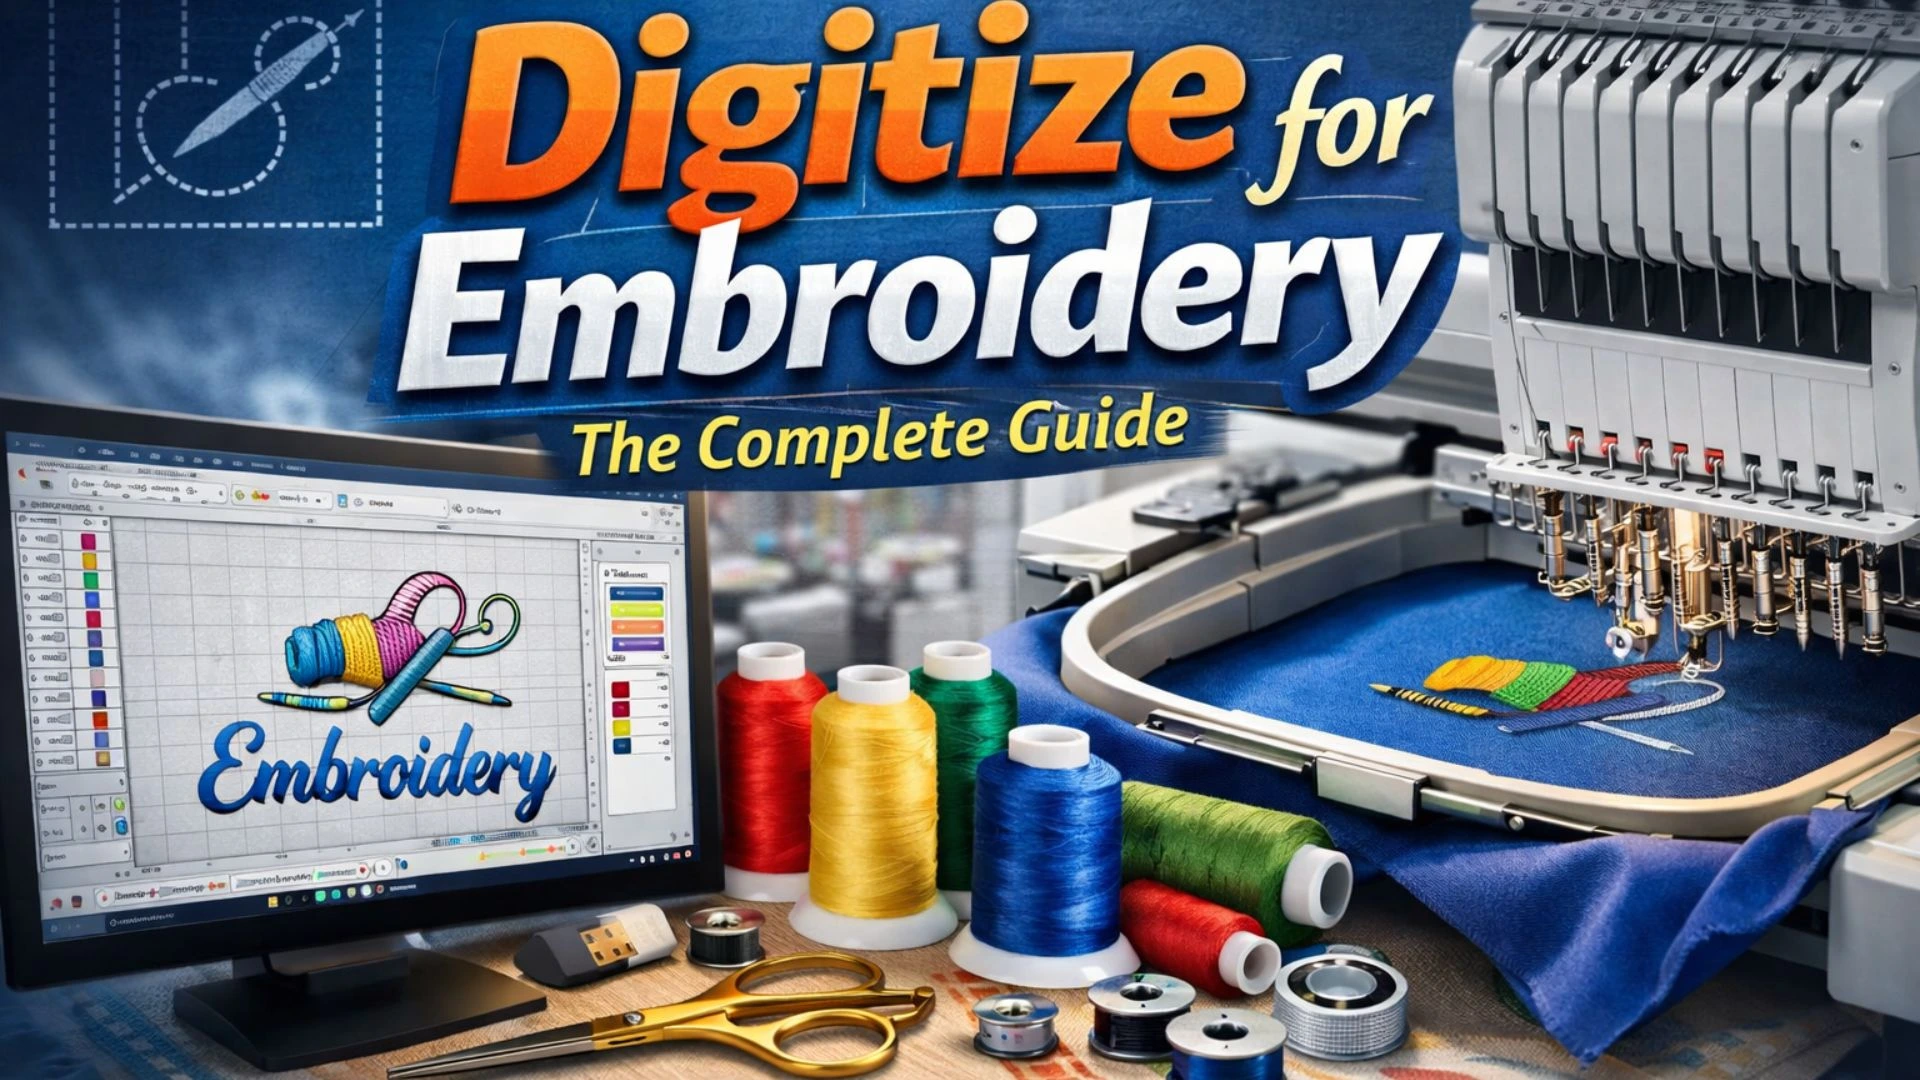
In the world of embroidery, creativity meets technology through a process known as digitizing for embroidery. Simply put, digitizing is the art of converting artwork, logos, or images into a digital embroidery file that a machine can read and stitch. It’s a critical step that transforms flat images into beautifully textured embroidery designs.
Whether you’re a small business owner, a fashion brand, or an embroidery enthusiast, understanding embroidery digitizing is essential for producing high-quality stitched designs. This process not only ensures precision and consistency but also adds value to every embroidered product-from caps and jackets to uniforms and promotional items.
Embroidery digitizing is the process of using specialized software (like Wilcom, Hatch, or Pulse) to map out every stitch that an embroidery machine will make. Unlike regular image editing, this involves assigning stitch types, directions, and densities that replicate the look and feel of traditional hand embroidery.
When you digitize a design for embroidery, you’re not just “saving” an image file – you’re actually instructing the embroidery machine how to sew. For example:
Digitizing makes all this possible with precision.
Without proper digitizing, even the best artwork can turn into a messy or uneven embroidery job. Here’s why digitizing matters:
For embroidery businesses, this step can make the difference between ordinary and outstanding work.
Digitizing may sound complicated, but with the right understanding, it follows a clear step-by-step workflow:
Start by choosing or cleaning up the design you want to embroider. High-resolution images work best, as they allow for precise detail.
Programs like Wilcom, Brother PE-Design, or Hatch Embroidery help convert the image into stitch data. Each software offers tools for mapping stitches, adjusting density, and previewing results.
Before creating stitches, the digitizer decides:
Here, the actual digitizing happens- turning shapes and lines into stitches. The digitizer ensures the sequence flows naturally, reducing jumps and trims for smooth production.
Finally, a test sew-out is done to check the design on fabric. Any issues (like gaps, puckering, or misalignment) are corrected before the final file is delivered.
Let’s say a client wants their company logo embroidered on polo shirts.
The result? A crisp, vibrant logo that enhances the brand’s professional image.
For embroidery digitizers:
For clients:
In short, good digitizing leads to satisfied clients and smooth embroidery operations.
Even skilled digitizers sometimes face challenges. Avoid these pitfalls for best results:
A clean, properly digitized design always produces a more professional finish.
Digitizing for embroidery is both a science and an art. It bridges the gap between creative design and machine precision. Whether you’re a beginner exploring embroidery or a business owner wanting flawless custom apparel, digitizing ensures your designs look their best every time.
If you’re looking for professional embroidery digitizing services, N Digitizing offers high-quality, affordable, and fast-turnaround solutions – ensuring every stitch counts.Ready to bring your artwork to life?
Contact us today to get started with your next embroidery project!
FAQs
1. What is embroidery digitizing?
Embroidery digitizing is the process of converting artwork or logos into a digital file that an embroidery machine can read. This process involves assigning specific stitch types, directions, and densities to replicate the design on fabric with accuracy and precision.
2. Why is digitizing important for embroidery?
Digitizing ensures that the design is accurate, consistent, and professional. It helps optimize machine performance, reducing thread breaks and production time. Additionally, digitizing allows designs to be resized without losing quality, ensuring professional-grade results for clients.
3. What software is commonly used for embroidery digitizing?
Common software for embroidery digitizing includes Wilcom, Hatch, Brother PE-Design, and Pulse. These programs allow you to map stitches, adjust stitch density, and preview designs before finalizing the digital embroidery file.
4. Can embroidery digitizing be applied to any image?
While most images can be digitized, high-resolution and clean artwork is best for accurate results. Avoid using blurry or low-quality images, as they can cause issues during the digitizing process, leading to poor embroidery quality.
5. How do I ensure the best quality in my embroidery digitizing?
To achieve the best results, ensure that the artwork is high-resolution, choose the correct software, set appropriate stitch types and densities, and test the design on fabric before finalizing it. Regularly reviewing and refining the design will help avoid common mistakes like improper underlay stitching or excessive detailing.